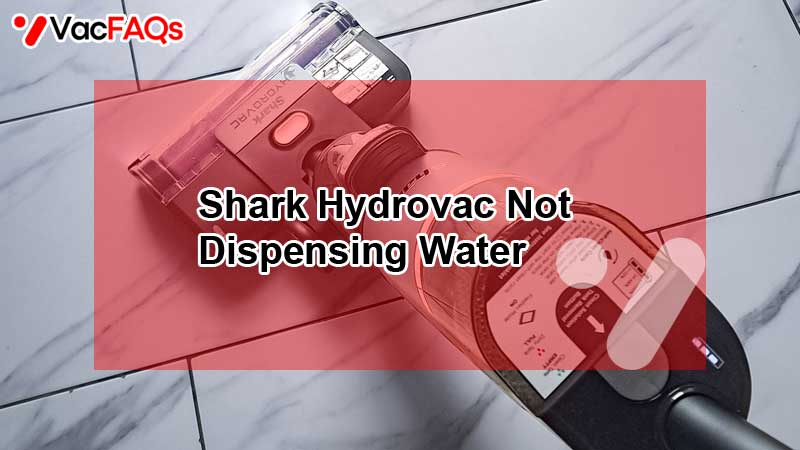
Is your Shark Hydrovac refusing to dispense water no matter what you try? It’s frustrating when your cleaning routine hits a snag because the water just won’t flow.
You might have checked the tank, cleaned the filters, or even flushed the system, yet nothing seems to work. Don’t worry—this problem is more common than you think, and you can fix it yourself. You’ll discover easy, practical steps to get your Shark Hydrovac back to working perfectly.
Keep reading to learn exactly what’s causing the issue and how to solve it quickly—so your floors can shine again in no time.
Common Causes
Shark Hydrovac not dispensing water can disrupt your cleaning routine. Understanding the common causes helps fix the issue fast. Problems usually come from simple parts or settings. Checking these areas can restore water flow quickly. Below are key reasons why your Shark Hydrovac might stop dispensing water.
Clogged Nozzles
Nozzles often get blocked by dirt or debris. Clogs stop water from flowing out properly. Cleaning nozzles with a small brush or pin clears the blockage. Regular nozzle cleaning keeps water dispensing smoothly. Avoid harsh tools that can damage the nozzles.
Faulty Release Valves
Release valves control water flow from the tank to the floor. If valves fail, water will not dispense. Valves may get stuck or break over time. Inspect the valve for damage or dirt. Replacing a faulty valve often solves the water dispensing issue.
Empty Or Misplaced Water Tank
Water must be in the tank for the Hydrovac to work. An empty tank means no water to dispense. The tank must also fit correctly in its place. A loose or misplaced tank can stop water flow. Always refill and securely place the water tank before use.
Sensor Malfunctions
Sensors detect water levels and control the flow. Faulty sensors might wrongly signal an empty tank. This stops water dispensing even if water is present. Sensor issues may need professional repair. Cleaning sensor contacts can sometimes fix minor errors.
Basic Troubleshooting
Basic troubleshooting helps fix common issues with your Shark Hydrovac. It often resolves water dispensing problems quickly. Follow these simple steps to check and restore water flow.
Checking Water Tank Placement
Ensure the water tank fits securely in its slot. A loose tank can stop water from dispensing. Remove and reinsert the tank firmly. Check for cracks or leaks that might affect placement.
Cleaning Filters And Rings
Filters and rings can collect dirt and block water flow. Remove these parts carefully. Rinse them under warm water to clear debris. Dry completely before reinstalling to avoid damage.
Unclogging Nozzles
Nozzles may clog with mineral buildup or dirt. Use a thin pin or paperclip to clear blockages gently. Avoid forcing the tool to prevent damage. Regular cleaning keeps water flowing smoothly.
Resetting The Device
Sometimes, resetting the Hydrovac fixes internal errors. Turn off the device and unplug it. Wait for one minute before plugging it back in. Power on the unit and test water dispensing again.
Advanced Fixes
Advanced fixes for a Shark Hydrovac not dispensing water require careful steps. These solutions go beyond basic cleaning and involve handling parts and mechanisms directly. Follow the instructions closely to avoid damage and improve water flow effectively.
Running Hot Water Through Caps
Remove the water caps carefully from the Hydrovac. Run hot water through each cap to clear blockages. Hot water helps dissolve mineral deposits and grime. Use a small brush if needed to scrub inside the caps. Dry the caps fully before reattaching them to avoid moisture issues.
Inspecting And Replacing Switches
Check the switches controlling water flow for proper function. Use a multimeter to test electrical continuity if possible. Replace any faulty switches with exact matches from the manufacturer. Faulty switches can prevent water from dispensing correctly. Handle switches gently to avoid wiring damage during inspection.
Disassembling For Internal Cleaning
Carefully disassemble the Hydrovac to access internal water channels. Remove screws and parts according to the user manual. Clean inside the water tank and tubes with mild detergent and water. Ensure no debris or buildup blocks water movement. Reassemble all parts securely to restore proper water flow.
Preventive Maintenance
Preventive maintenance keeps your Shark Hydrovac working well. It stops water dispensing problems before they start. Regular care saves time and money. Small actions help maintain strong water flow and device health.
Regular Cleaning Schedule
Clean your Hydrovac every week. Remove the water tank and rinse it with warm water. Wipe the filter and nozzles gently. Clear any dirt or residue from all parts. This stops clogs that block water flow. Follow the user manual for proper cleaning steps.
Proper Water Usage Tips
Use clean, room-temperature water only. Avoid hard or dirty water that can damage the system. Fill the tank to the recommended level. Overfilling may cause leaks or poor water release. Empty the tank after use to prevent mold and buildup inside.
Avoiding Common User Errors
Check the water tank is secured tightly before use. Do not force the water button if it feels stuck. Avoid using the Hydrovac on wet surfaces not meant for it. Do not block or cover vents and nozzles. These simple steps prevent water dispensing failures and extend device life.
When To Contact Support
Knowing the right time to contact support for your Shark Hydrovac saves time and frustration. Some problems need expert help beyond basic troubleshooting. Acting quickly can prevent further damage and get your device working again.
Recognizing Irreparable Issues
Some faults cannot be fixed at home. Persistent water dispensing failure after cleaning filters and nozzles signals deeper issues. Strange noises, leaks, or error messages also hint at serious problems. These signs mean it’s best to stop using the unit and seek professional help.
Using Manufacturer Resources
Shark provides manuals and online guides for troubleshooting. Their website often has FAQs and videos for common issues. Use these resources first to understand the problem better. If the solutions don’t work, customer support can offer tailored advice and next steps.
Warranty And Repair Options
Check if your Shark Hydrovac is still under warranty. Warranty coverage can save costs on repairs or replacement parts. Authorized repair centers ensure genuine parts and proper fixes. Contacting support early helps clarify your warranty status and repair choices.
Frequently Asked Questions
Why Is My Shark Mop Not Releasing Water?
Your Shark mop may not release water due to an empty or improperly seated tank, clogged nozzles, or a faulty release valve. Fill and secure the water tank, set the mop to steam, and clear nozzles with a paperclip to fix the issue.
How To Factory Reset Shark Hydrovac?
To factory reset your Shark Hydrovac, unplug it first. Press and hold the power button for 20 seconds. Release the button, then plug it back in. This resets the system and clears minor errors.
Why Is My Shark Hydrovac Brush Not Rolling?
Your Shark Hydrovac brush may not roll due to hair or debris tangled around it. Clean the brush roll and check for blockages. Also, inspect the brush roll belt for damage or looseness and replace it if needed. Ensure the vacuum is powered on and fully charged.
Where Is The Reset Button On The Shark Vacuum?
The reset button on a Shark vacuum is usually located near the bottom or side of the vacuum base. Press and hold it for a few seconds to reset. Check your model’s manual for exact location, as it varies by model.
Why Is My Shark Hydrovac Not Dispensing Water?
The water tank might be empty or not seated properly. Check if the tank is full and securely attached.
Conclusion
Troubleshooting your Shark Hydrovac’s water dispensing issue can be simple. Check for clogged nozzles and clean the filter regularly. Ensure the water tank is full and properly secured. Sometimes, running warm water through the cap helps clear blockages. Small fixes often restore proper function quickly.
Keep your Hydrovac well-maintained to avoid future problems. With basic care, your device will continue to clean effectively. Don’t let minor issues stop your cleaning routine. Stay patient and follow these easy steps for best results.
Brandy A. Cherney lovingly refers to herself as a cleaning geek, born and bred in South Carolina but moved to New York City to earn her B.A. in English. She is currently a wife, and mother of two children, two cats, and a dog. Brandy has always loved writing, but never thought she would write for a living.